Short answer: To learn how to replace a door lock, first measure the backset and door thickness. Then remove the interior screws, old hardware, and latch. Install a compatible replacement, and replace or adjust the strike plate if needed; test the lock with the door open before testing it with the door closed. If it works when open but binds when closed, check the strike plate alignment.
This guide covers standard residential locksets and deadbolts installed in pre-drilled doors. Mortise and multipoint locking systems use different hardware and may require a more specialized approach.
| Quick fact | What to know |
| Typical DIY time | About one hour for a straightforward replacement |
| Skill level | Beginner-friendly when the existing door preparation matches the new hardware |
| Essential tools | Screwdriver and tape measure |
| Common backsets | 60 mm (2-3/8 in.) or 70 mm (2-3/4 in.) |
| Best first test | Operate the new lock with the door open, then test it with the door closed |
| When to get help | The door has a multipoint system, serious frame damage, or incompatible preparation |
A basic replacement is often manageable for a beginner when the new hardware fits the existing door preparation. Taking accurate measurements before you begin can prevent many installation problems.
Decide Whether You Need Replacement or Rekeying
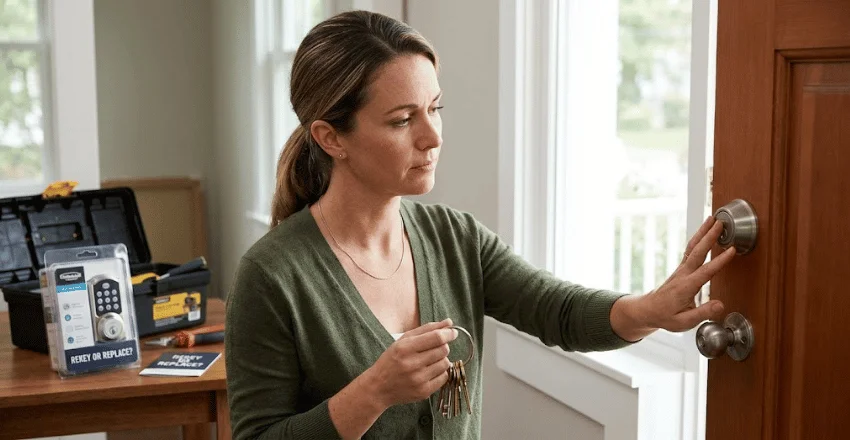
You may not need new hardware if the existing lock works well. Rekeying changes which key operates the cylinder while allowing you to keep compatible hardware in place. This option can make sense after moving into a home or losing control of an old key.
Replacement makes more sense when the hardware is damaged, worn, difficult to operate, or no longer meets your security needs. It also gives you an opportunity to change the finish, handle style, deadbolt, or compatible smart features.
What You’ll Need Before You Start
Gather your tools and replacement hardware before taking the old lock apart. Keep the manufacturer’s instructions nearby because latch adjustments and screw locations can vary by model.
| Item | Why you need it |
| Compatible lockset or deadbolt | Replaces the existing hardware |
| Screwdriver | Removes and installs most mounting screws |
| Tape measure | Checks the backset, door thickness, and bore position |
| Pencil | Marks strike plate or hardware adjustments |
| Chisel or drill | Needed only if the manufacturer requires changes to the door preparation |
Measure from the edge of the door to the centre of the main bore hole. This distance is the backset. If you need a refresher on millimetres, hook position, and accurate measurements, see HomeCraftly’s measuring tape guide.
How to Replace a Door Lock in 7 Steps
- Measure the existing door preparation. Check the backset before buying or opening the replacement hardware. Measure the door thickness as well. Compare both measurements with the range listed in the manufacturer’s instructions. Also check whether the existing latch faceplate is rectangular, rounded, or designed for a drive-in collar.
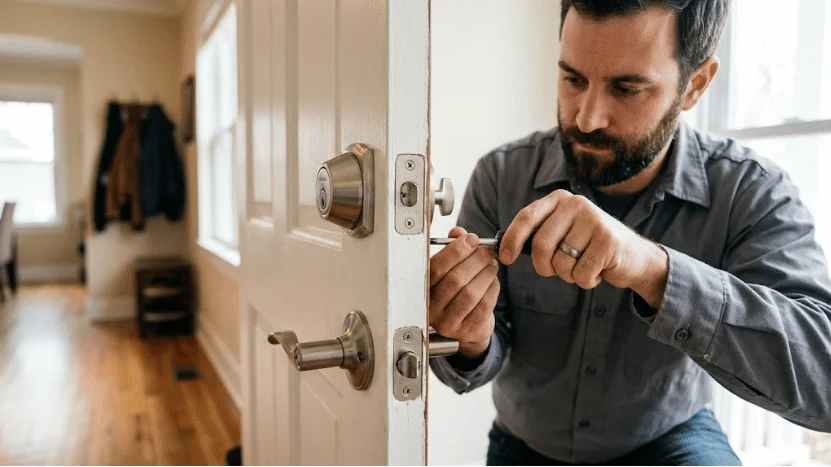
- Remove the interior hardware. Keep the door open. Find the mounting screws on the interior knob, lever, or deadbolt thumbturn. Remove them while supporting the hardware with your other hand. Pull the interior and exterior sections away from the door without twisting them against the door surface.
- Remove the old latch or deadbolt. Remove the screws from the plate at the edge of the door. Slide the latch or deadbolt assembly straight out of the bore hole. If it sticks, work it loose gently rather than pry against the door. Keep the old parts nearby until the new hardware has been fully tested.
- Adjust and install the new latch. Set an adjustable latch to the correct backset before inserting it. On a spring latch, position the bevel so it can slide over the strike plate as the door closes. Seat the faceplate flat against the edge of the door and tighten the screws evenly.
- Connect the exterior and interior hardware. Feed the exterior spindle or tailpiece through the latch mechanism as directed by the manufacturer. Hold the exterior section in place while fitting the interior section. Start both mounting screws before fully tightening either one. This helps keep the assembly centred and prevents it from being pulled out of alignment.
- Check the strike plate. Close the door slowly and observe where the latch or deadbolt meets the door jamb. Use the new strike plate if its shape or dimensions differ from the old one. If the hardware includes a reinforcement plate, install it according to the manufacturer’s instructions.
- Test the lock with the door open and closed. First, operate the key, thumbturn, latch, and deadbolt several times while the door is open. Then close the door and repeat the test. If everything works smoothly while the door is open but becomes stiff when the door is closed, inspect the strike plate and door alignment.
Check the Fit and Security Before You Finish
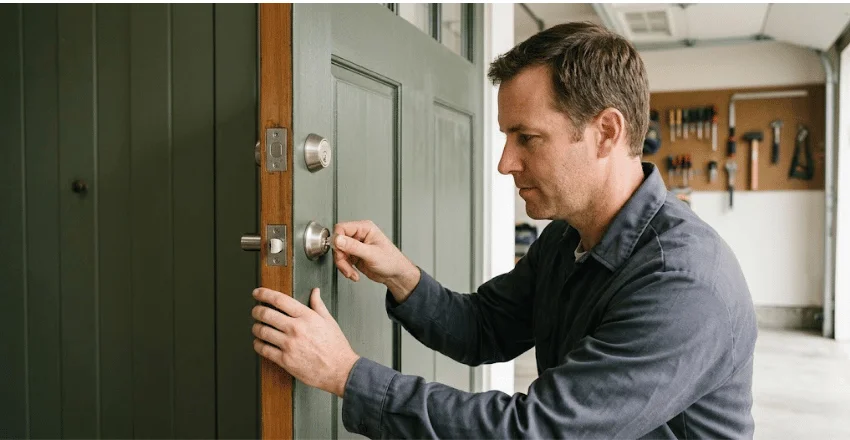
A properly installed lock should operate without requiring you to force the key, handle, or thumbturn. The latch should enter the strike plate cleanly, and the deadbolt should extend fully without requiring you to lift, push, or pull the door.
For an exterior entrance, look beyond the lock itself. Entry security also depends on the condition of the door, frame, hinges, and surrounding structure.
HomeCraftly’s garage entry security guide covers other potential weak points around attached garages, service doors, and nearby entry areas.
Common Installation Problems and Quick Fixes
Most problems become noticeable during the final test. Checking whether the problem occurs with the door open or only when it is closed can help you identify the likely cause.
| Problem | Likely cause | What to check |
| Deadbolt works when open but binds when closed | Strike plate misalignment | Check where the deadbolt contacts the strike plate opening |
| Latch does not retract smoothly | Spindle or mechanism is misaligned | Loosen, centre, and reinstall the hardware |
| Interior trim feels loose | Mounting screws are loose or unevenly tightened | Tighten each side gradually |
| New latch does not sit flat | The faceplate or door preparation does not match | Recheck the replacement dimensions |
| Door must be pushed or pulled to lock | Door or strike plate position has shifted | Inspect the alignment before modifying the new hardware |
Do not try to correct a poor fit by forcing the key or overtightening the mounting screws. If the door jamb is split or the screw holes can no longer secure the strike plate, repair the damaged area before relying on the new lock.
When a Locksmith Is the Better Choice
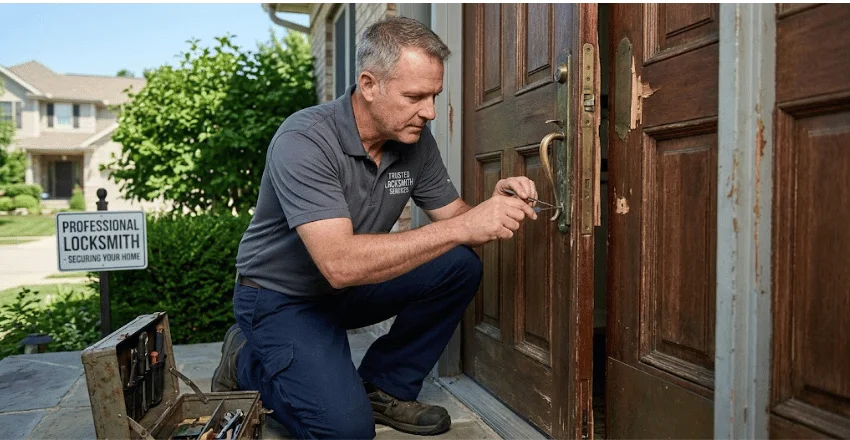
Consider calling a locksmith if the door uses a multipoint locking system, an unfamiliar mortise lock, or damaged door preparation that requires significant cutting or modification.
Professional help can also be useful when the frame is badly damaged, the replacement hardware does not match the existing holes, or the door cannot be aligned well enough for the deadbolt to extend freely.
Finish the Job With the Whole Entry in Mind
After the new lock works smoothly, inspect the surrounding door jamb, hinges, and other exterior entry points. A new lock performs best when the door and frame are also in good condition.
For more practical repair and maintenance projects, browse HomeCraftly’s home improvement guides and continue checking the entry points that affect everyday security and function.
Frequently Asked Questions
Yes. A standard replacement is usually manageable for a beginner when the new hardware matches the existing door preparation. Measure carefully, follow the manufacturer’s instructions, and test the lock with the door open before testing it with the door closed.
A straightforward replacement can take about an hour. You may need more time if the strike plate requires adjustment, the new hardware does not match the existing door preparation, or the door jamb needs repair.
Rekeying is worth considering when the existing hardware is in good condition, and your main concern is preventing old keys from working. Replace the lock if it is worn, damaged, or unsuitable, or if you want different features.
This problem often points to the strike plate or door alignment rather than the deadbolt itself. Check where the deadbolt contacts the strike plate opening and make sure it can extend fully without pressure on the door.