

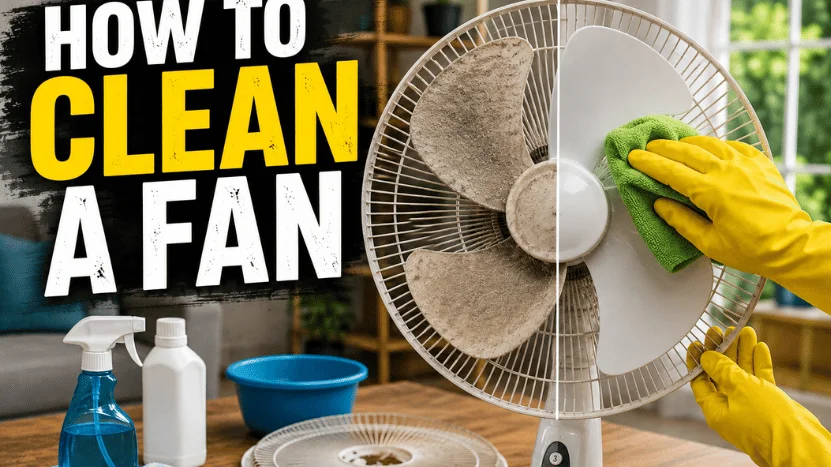
Grey fuzz on the blades is not just ugly. It puts the blade out of balance, makes the motor run hotter, and throws a fine layer of dust back into the room every time you hit the switch. So how to clean a fan turns out to be four short routines rather than one vague method. Which routine you need depends entirely on the type sitting in front of you.
The whole job: unplug it, take the front grille off, and lift the blade free. Wash the grille and blade in warm soapy water. Wipe the motor housing with a barely damp cloth, leave all parts to dry for 2 hours, then reassemble and run it. Ceiling and bathroom units follow the same order, with the power cut at the breaker.
TL;DR: the short version
- Pedestal and box units come apart in about a minute. Tower units mostly do not, and that changes the whole approach.
- Warm water and a squirt of dish soap beat every spray cleaner on plastic blades.
- Compressed air relocates dust. It does not remove it, and it pushes some of it deeper inside.
- Nothing goes back together, and nothing gets power, until it is bone dry.
- For ceiling blades, use an old pillowcase instead of a duster.
What you’ll need
Everything here is probably already under your sink. No specialty gear. No chemicals with warning labels on the back, and nothing that needs a trip to Canadian Tire before you start.
- A vacuum with a soft brush attachment
- Two microfibre cloths, one damp and one dry
- Warm water and a few drops of dish soap
- A soft toothbrush or a 25 mm paintbrush for the vents
- A Robertson or Phillips screwdriver, depending on the housing
- An old pillowcase for ceiling blades
- A stepladder and a towel for the floor
Which type do you have?

Four common household types open in completely different ways, need attention on different schedules, and take wildly different amounts of time. Nobody puts them side by side. So here they are, with honest timings for doing all four in one afternoon. For a closer look at this, see How to Hang Shelves.
| Type | How it opens | How often | Time it takes |
|---|---|---|---|
| Pedestal, table or oscillating | Front grille unclips or unscrews; blade slides off a spindle | Every 3 to 4 weeks in use | 20 to 30 minutes, plus drying |
| Box or window | Grille screws out; blade often stays fixed to the motor | Every 3 to 4 weeks in use | 25 to 40 minutes |
| Ceiling | Nothing opens; you work on the exposed blades in place | Twice a year, more in a dusty room | 10 to 15 minutes |
| Bathroom exhaust | Grille pulls down on spring clips, housing lifts out | Twice a year | 30 to 45 minutes |
How to clean a fan, step by step
This sequence is written for a pedestal, table, or oscillating unit, because that is the one most households own and the one that comes fully apart. Work through it in order.
- Unplug it. Pull the cord from the wall, not the switch, and set the unit on a towel where you can see what you are doing.
- Vacuum the outside first. Run the brush attachment over both cages so you are not carrying loose fluff to the sink.
- Release the front grille. Squeeze the clips around the rim, or back out the small screws holding the cage collar.
- Slide the blade off the spindle. Some models use a plastic nut that turns in the opposite direction of a normal thread, so try counter-clockwise before you force anything.
- Wash the grille and blade. Warm water and dish soap in the sink lift the greasy film left by dry dusting, and the same trick works when you clean a stainless steel sink afterward.
- Wipe the motor housing. Use a barely damp cloth and never let water run down into the vents around the shaft.
- Brush out the rear cage and vents. A toothbrush gets into the slots where a cloth just skates over the top.
- Dry everything for two hours. Stand the parts on a rack, not in a stack, and give the blade hub extra attention because water hides in the centre.
- Reassemble and test on low. Listen for a rattle, which usually means the grille collar is a quarter turn loose.
Pedestal and tower fans
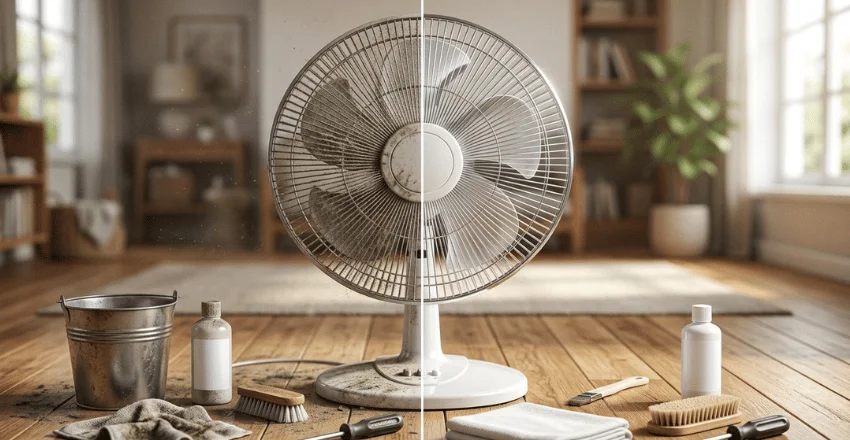
Pedestal units are the easy case, and the sequence above covers them completely. Oscillating models add one wrinkle: the pivot at the back of the motor collects a hard grey ring that a cloth will not shift. Work a dry toothbrush into it before you go anywhere near it with water.
Why tower fans do not come apart
A tower unit does not use a blade on a spindle. It uses a tall cylindrical impeller spinning inside a sealed plastic column. The two halves of that column are usually held by security screws or heat-welded clips that were never meant to be undone. Forcing them cracks the shell and voids the warranty.
So you clean it from the outside in. Good, not perfect. Lay the tower on its side on a towel. Vacuum the intake grille at the back with the brush attachment, working slowly, because the intake holds roughly three-quarters of the dust in the whole machine.
Then push a dry toothbrush through the outlet slots at the front and sweep sideways, which drags dust toward the opening rather than into the column. Finish with a damp cloth over the outside shell and a cotton swab along the control panel.
If your model has a removable rear filter, and many taller ones do, pop it out and rinse it. That single panel is often the entire reason the airflow dropped off.
Box and window fans
Box units look simple and are the fiddliest of the lot. That sounds worse than it is. Their blade is frequently fixed to the motor shaft with a metal clip you cannot remove without a puller, so you clean it in place.
Remove the screws from the front grille and lift it away. Vacuum the blade, then wipe each paddle with a damp cloth while turning the assembly by hand, one paddle at a time. Do the back grille separately in the sink, since it is usually a separate part and it collects the worst of it. Window units get one extra step: check the plastic side panels for grit, because that is where insects and street dust collect over a season.
Ceiling fans, without the dust storm
Cut the power at the breaker before you climb anything, then leave the wall switch off as well. Here is the trick that beats every extendable duster on the market. Slide an old pillowcase over one blade, all the way to the mounting bracket, then press the fabric against the top and bottom surfaces and pull it back toward you.
Dust comes off inside the fabric instead of raining down on the room. That is the whole point. Repeat for each blade, then shake the pillowcase out over a bin or outside.
Follow with a damp cloth on the blade tops and the motor housing. Whatever still lands on the ground is easy enough to deal with when you next clean hardwood floors in that room.
One thing catches people out afterward. If a ceiling unit starts to wobble once it is clean, blame the dust you just removed. It builds up unevenly and quietly compensates for a blade that was already heavier or set at a slightly different angle. Stripping it away exposes an imbalance that was there all along.
Check that every blade sits the same distance below the roof surface, then tighten the screws at each bracket. If the wobble persists, add a small stick-on balance weight to the top of one blade.
While you are up there, find the small switch on the motor housing. Flip it so the blades turn clockwise in winter. That pushes the warm air trapped near the roof back down the walls, which is the whole point of a ceiling unit in January.
Bathroom exhaust fans, where the real clog is
Most people wipe the visible grille, decide the job is done, and wonder why the mirror still fogs six months later. The grille is not the problem.
Two places you cannot see hold the blockage. One is the squirrel-cage impeller inside the housing, which packs solid with lint and moist dust. The other is the flexible duct running out to the exterior vent. A sagging low spot in a duct collects condensation, and dust sticks to it. Airflow drops to a trickle while the motor hums away as though everything is fine.
Cut the power at the breaker. Pull the grille down against its spring clips, squeeze the clips inward, and remove it entirely. Vacuum the housing, then unplug the motor assembly from the receptacle inside the box and lift the whole thing out. Now you can get at the impeller with a brush, and clean between the curved vanes where the packed lint sits.
Then look up the duct with a flashlight. If you can see a grey mat clinging to the ribs, run a vacuum hose as far in as it reaches. Then go outside and check that the exterior flap swings open. A painted-shut or bird-blocked flap makes a spotless housing pointless.
How often to clean fans in a Canadian home

Timing matters more here than in most climates. Our year splits into two very different dust seasons, and the changeover between them is the moment to do the work.
Portable units receive a deep clean twice: once in late May when they come out of storage, and once in September before they go back in storage. Cleaning before storage is the half everyone skips, and it is the half that matters. Dust left on a blade over eight months bonds to the plastic and turns into a job that needs a soak. Ceiling and bathroom units run year-round, so book them into spring and fall routines.
Winter is the quiet troublemaker. Heated indoor air in a Canadian winter often sits at or below 30 percent relative humidity. Dry air keeps fine dust airborne far longer, so it settles on every horizontal surface, including a ceiling blade. That is why a ceiling unit looks dirtier in February than it did in August.
Store portable units off the ground and covered, not stacked in a corner. A shelf with a cotton sheet over it works. That is one more argument for taking a weekend to organize the garage before the cold sets in.
Five mistakes that wreck fans
- Reaching for compressed air. It blasts dust off the blade and into the room, and drives a good share of it deeper into the motor vents where you can no longer reach it. A vacuum pulls dust out. A can pushes it around.
- Spraying cleaner directly at the housing. Liquid follows the shaft straight into the bearing. Spray the cloth, never the machine.
- Reassembling while damp. Two hours is the minimum, and overnight is better in a humid basement. Water sitting against a winding is how a working motor becomes a dead one.
- Running the blades through the dishwasher. Sustained heat warps thin plastic paddles just enough to throw the balance off permanently.
- Skipping the rear cage. That is the intake, so it carries more dust than the front, and it is the one part most people never take off.
Start with the one you use most
Pick the unit that runs the longest each day, which for most homes is the bedroom pedestal or the bathroom exhaust, and give it a proper half hour this weekend. You will hear the difference within a minute of switching it back on, and feel it a second later. Then work through the rest of the house according to the schedule in the table above, and add a reminder to your calendar for the September strip-down.
Frequently asked questions about how to clean a fan
Yes, provided the blade detaches from the motor. Plastic and metal paddles are fine in warm, soapy water, and a rinse afterward stops soap film from attracting new dust. What must never get wet is the motor housing, the switch panel, and the cord.
Every three to four weeks while it is running daily, and always before it goes into storage. Ceiling and bathroom units need it twice a year.
No. Anything sprayed into the outlet slots lands on the impeller and the motor below it, and neither part can dry properly. Vacuum the intake and brush the slots instead.
A quick pass with a dry microfibre cloth once a week is enough. Raising a portable unit off the ground helps too, since the lowest half-metre of a room carries the heaviest dust load.
Noise that survives a clean usually points to worn motor bearings or a loose housing rather than dirt. Try the mounting screws first. Tighten every one in the ceiling box, then run it again and listen.

![Whole House Water Filtration: Test Before You Buy [2026] What to Know First](https://homecraftly.ca/wp-content/uploads/2026/08/whole-house-water-filtration.webp)