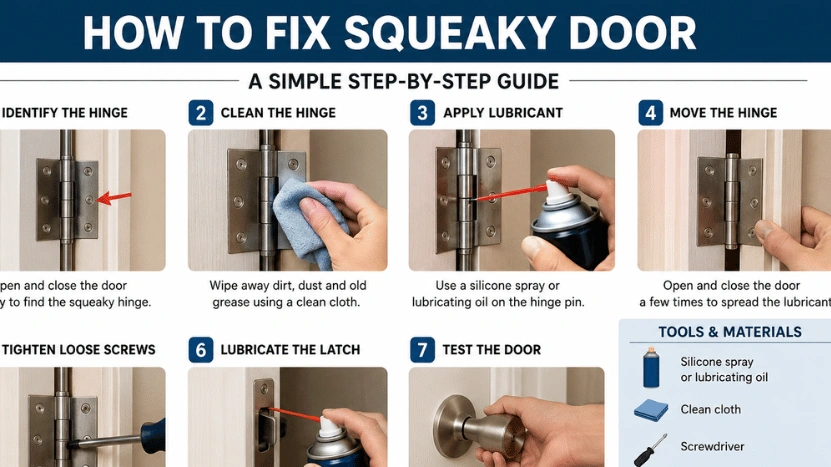
Learning how to fix squeaky door hinges starts with locating the exact source of the noise. Most squeaks come from a dry or dirty hinge pin. Clean the pin, apply a small amount of suitable lubricant, work the door, and then check the screws.
This job usually takes less than 30 minutes. Keep a cloth below the hinge, because excess lubricant can mark paint, collect dust, or make the floor slippery.
Use a small amount.
| What you hear or see | Likely cause | First response |
| Squeak at one hinge. | Dry hinge pin | Clean and lubricate the pin. |
| Gritty sound or orange marks | Dust or rust on the pin | Remove debris before adding lubricant. |
| Crease in paint near a hinge. | Loose screws or door movement | Check screw tightness and alignment. |
| Noise returns quickly. | Worn pin, worn hinge barrel, or misalignment | Inspect for wear and consider replacement. |
Find The Hinge That Makes The Noise
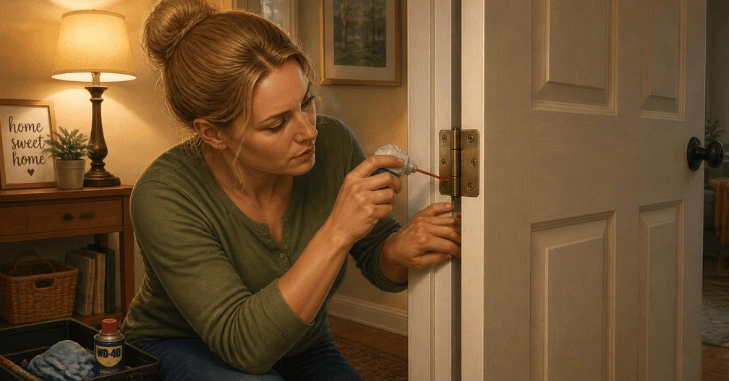
Open the door slowly, then close it slowly. Pause at several points and listen near each hinge. Put one hand lightly on the edge of the door, not inside the hinge gap. Vibration at a single location usually indicates the noisy hinge.
Check the door first. Loose knobs, latches, strike plates, or rubbing edges can also creak. If the sound appears only when the door reaches the frame, look for a misaligned latch or paint buildup before treating the hinges. Listen before lubricating.
What You Need
How to fix squeaky door Gather a clean cloth, a small hammer, a thin nail or screwdriver, a suitable hinge lubricant, and a soft brush. Have a container ready for the removed hinge pin. Use only a small amount of product, because the lubricant needs to reach the pivot, not coat the room.
When the door rubs against the frame, use a tape measure to compare the gaps along the edge. Frequent gaps often indicate loose hinge screws or a shifted door.
How to Fix Squeaky Door Hinges in Six Steps
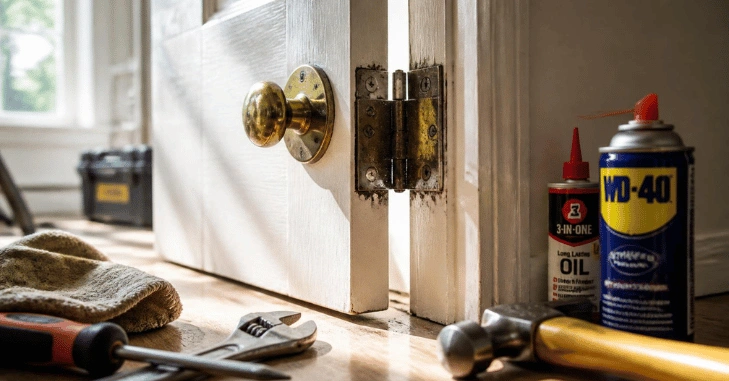
Work on one hinge at a time. That keeps the door supported by the other hinges and makes it easier to confirm which change stopped the sound.
One hinge is enough.
- Protect the floor and paint. Spread a cloth below the hinge. Open the door enough to reach the pinhead, but do not place fingers between the hinge leaves.
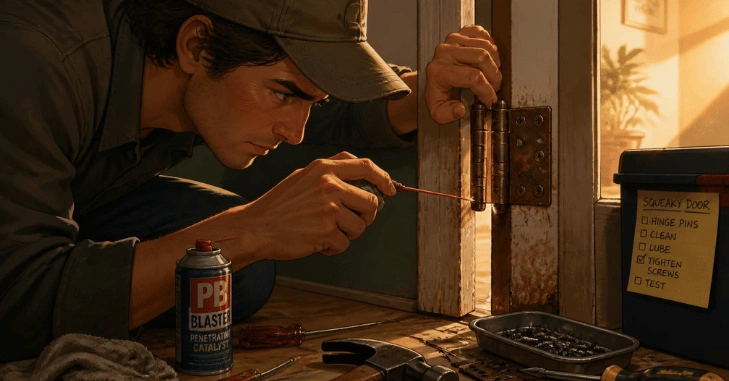
- Lift the hinge pin slightly. Place a thin nail or screwdriver under the pin head. Gently tap upward with a hammer until the pin rises. Remove it fully only if the door remains stable.
- Clean the pin and hinge barrel. Wipe away dust, old grease, and loose paint. Use a soft brush around the hinge knuckles. Dry the metal before applying fresh lubricant.
- Apply a small amount of lubricant. Put a few drops on the pin or use a controlled silicone product at the pivot. Avoid spraying the door surface, the latch, or the floor.
- Reinstall the pin and work the hinge. Slide the pin back into place, then tap it down gently. Open and close the door several times to spread the product inside the barrel.
- Wipe and test. Remove excess lubricant from the hinge and surrounding paint. Open the door slowly again. If the noise remains, move to the screw and alignment checks below.
Choose a Lubricant That Stays Where do you put it
Light machine oil or silicone lubricant can work well for an indoor hinge. Use the maker’s directions and apply only enough to wet the pin. Food oils are poor choices because they can become sticky and attract dust.
Sprays are convenient, but overspray creates a mess. Aim into the hinge barrel through a narrow applicator, then wipe the visible metal. If the paint is delicate, apply the lubricant to the removed pin with a cloth rather than spraying near the door.
Wipe every drip.
Clean Rust Before It Damages The Hinge
Rust can roughen the pin and create a recurring squeak. Remove the pin, inspect it under good light, and clean light surface rust before lubrication. The metal rust removal guide offers a careful approach for small metal parts.
Deeply pitted, bent, or difficult pins need hinge replacement rather than force. Replacement is also sensible if the hinge barrel has a visible crack or the leaves no longer sit flat.
Check Loose Screws and Door Alignment
Loose hinge screws allow the door to move against the frame. With the door closed, inspect the gap around the edges. Larger gaps at the top or a scraping latch can point to a loose top hinge or a shifted frame.
Tighten accessible screws by hand until firm. Do not strip the wood by forcing a screw that spins. For a shallow, damaged screw hole, a wood filler repair guide can help restore material before you refit a suitable screw. Let the repair cure fully before loading the hinge.
When Lubrication Does Not Solve the Squeak
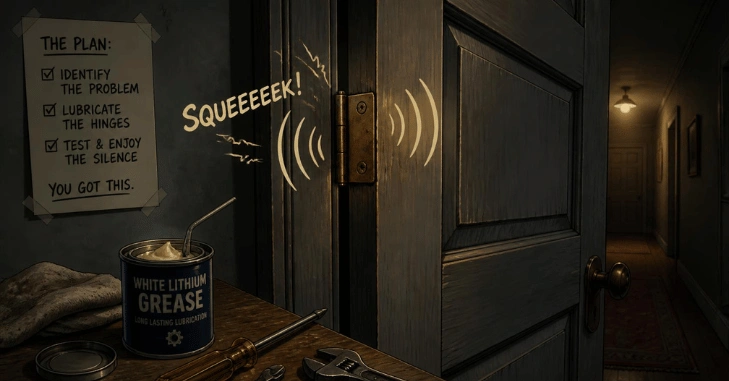
Recurring squeaks can mean the hinge is worn or the door is rubbing. Watch the hinge as a helper slowly moves the door. Sideways pin movement, separated knuckles, or a leaf that pulls from the frame point to replacement hardware.
Replace one hinge at a time with a matching size and finish. Support the door properly, or ask a repair professional to handle a heavy exterior door. Do not remove every hinge at once.
Keep the Repair from Returning
Wipe hinge dust during regular cleaning and address loose screws early. A brief inspection after seasonal humidity changes can catch a door that has shifted before it starts rubbing or squeaking again.
Once the door moves quietly, check the latch and close it gently several times. A quiet hinge and a smooth latch confirm that the problem is solved without hiding a separate alignment issue.
Build a Small Hinge-care Routine
Look at interior hinges during seasonal cleaning. Dust gathers in the hinge barrel, especially near kitchens, entryways, and rooms with pets. Wipe the visible metal first, then open the door slowly and listen for new friction. A quiet hinge needs no extra product.
Use lubricant only when movement sounds dry or feels rough. Too much product can collect dust and mark paint. A quick wipe after each application keeps the surrounding wood clean and makes future inspection easier.
For exterior doors, check the hinge finish after wet weather. Early surface rust is easier to remove than heavy pitting. Replacing a worn hinge before it binds protects both the door edge and the frame.
Keep a small cloth beside your repair supplies for hinge work. Clean tools and a tidy floor make this short task easier to repeat. Good habits also help you notice a loose screw before it becomes a larger alignment problem.
Conclusion
How to fix a squeaky door. Overall, this topic provides a clear and practical understanding of the subject while highlighting the key facts readers need to know. By focusing on the main points, common concerns, and useful guidance discussed throughout the article, readers can make better-informed decisions and avoid common mistakes.
How to fix squeaky door The information is presented in a straightforward way so that even readers who are new to the topic can understand its importance. In conclusion, taking the right steps, checking reliable information, and understanding the details can make the entire process easier, safer, and more manageable.
FAQ
The usual cause is friction inside a dry, dirty, or rusty hinge. Loose screws and a door that rubs the frame can also create a creak. Locate the source of the sound before choosing a fix.
Lift it first. A raised pin may give enough access for lubricant. Remove it only when the door is stable, and you need to clean rust or old residue from the full length.
Check the screws, hinge alignment, and condition of the pin. A worn hinge or a door that rubs the frame needs a mechanical correction. Extra lubricant cannot correct damaged hardware.
No. Cooking oils can become sticky and collect dust. Use a purpose-made hinge lubricant or a small amount of light machine oil, then wipe the area clean.