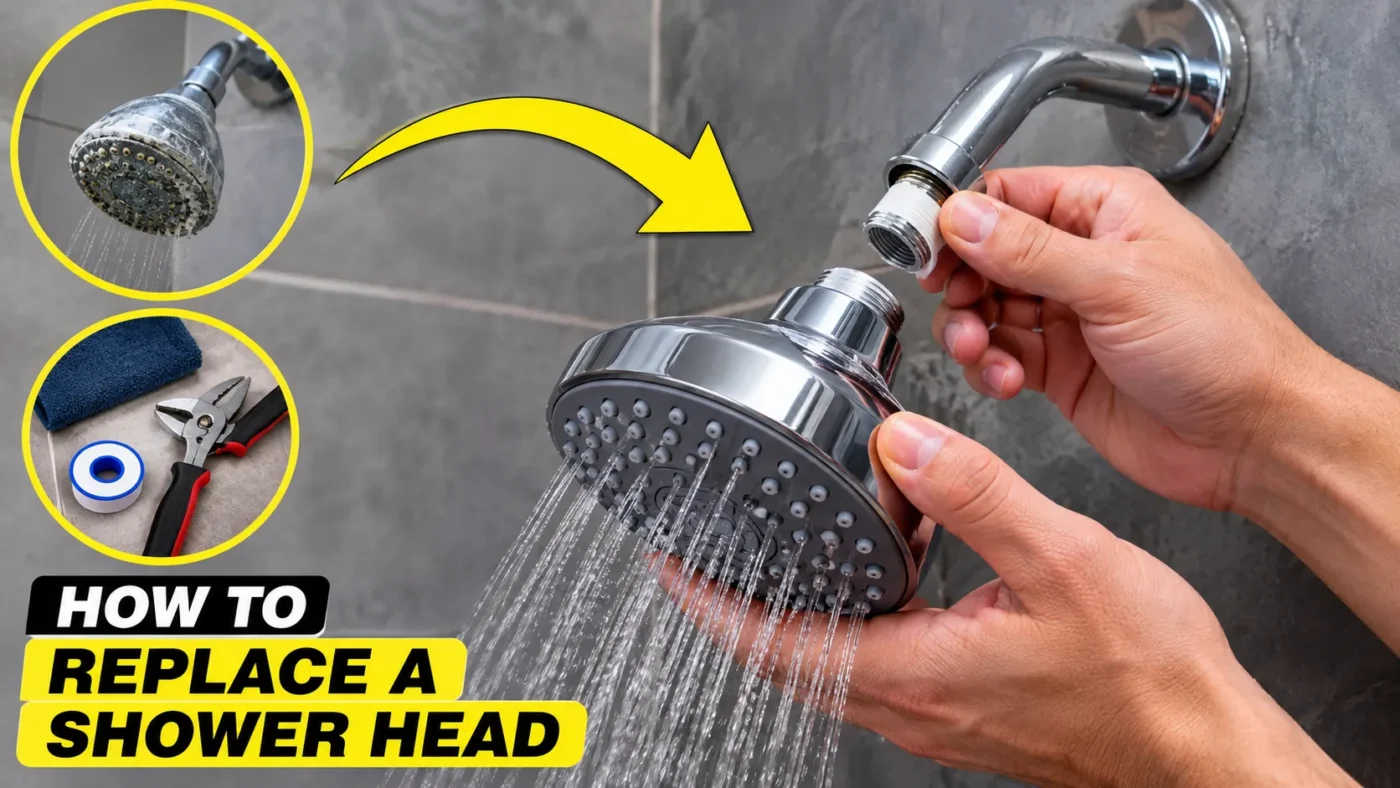
Swapping a shower head needs no shut-off valve, no torch, and no trip into the basement. One unscrews. The other screws on. Everything difficult about the job happens inside the 20 mm of thread between them, and that is the part almost every guide skips. For a closer look at this, see How to Fix Squeaky Door.
The gist: close the shower valve, then unscrew the old head from the arm by hand or with padded pliers. Wipe the threads clean, wrap thread seal tape two or three turns clockwise, and hand-tighten the new head on. That is how to replace a shower head, and it takes about 15 minutes.
Key takeaways
- Shower arms use a half-inch NPT thread, which is a standard name rather than a measured width.
- Put a caliper across the male threads on the arm, and you read about 21 millimetres, not 12.7.
- Two or three clockwise turns of thread seal tape is plenty, and the direction is what makes it hold.
- A pipe wrench never touches a finished arm. Pad the jaws of a pair of pliers instead.
- New heads sold here are held to a flow limit of 6.8 litres per minute, measured at 552 kPa.
The job at a glance
| Detail | What to expect |
|---|---|
| Time | About 15 minutes, most of it spent cleaning threads |
| Difficulty | Beginner. No house shut-off, no soldering, no glue |
| Tools | Slip-joint pliers with padded jaws, a rag, an old toothbrush |
| Thread standard | Half-inch NPT, tapered, on both the arm and the head |
| Thread diameter | About 21 mm across the male threads on the arm |
| Flow limit in Canada | 6.8 L/min for new heads, measured at 552 kPa |
| Usual snag | Mineral scale locking the old head onto the arm |
Replace it, or just descale it?
A weak, spitting spray is usually not a dead fixture. It is limescale. Hard water is the norm across the Prairies and much of southern Ontario, where dissolved calcium and magnesium often run past 180 mg/L. That is the level water labs call very hard. Every shower leaves a little of it behind inside the nozzles, and the spray goes crooked long before anything wears out.
So try this before replacing anything. Unscrew the head, drop it in a bowl of white vinegar overnight, then rub the rubber nozzles with your thumb. Most of them pop clear. If the pattern comes back, you have saved yourself a trip to the store, and if it does not, the fixture has earned its retirement.
Where scale returns within weeks, the head is the messenger and the supply is the cause. That is the point at which a water softener system for the whole house starts to make sense. Descaling one fixture does nothing for the kettle, the dishwasher or the shower door.
What you’ll need
Nothing here is specialized, and most of it is already in a kitchen drawer.
- The new shower head, with its rubber washer seated in the inlet
- Thread seal tape, sold as PTFE tape or plumber’s tape in every hardware aisle
- Slip-joint pliers, plus a rag or a strip of masking tape to pad the jaws
- An old toothbrush and a bowl of white vinegar
- A dry cloth to lay in the tub so nothing small vanishes down the drain
Leave the pipe wrench in the toolbox. Its hardened teeth are built to bite into black iron, and on a chrome or brushed-nickel arm, they leave crescent scars that no polish removes.
Why almost every head fits almost every arm
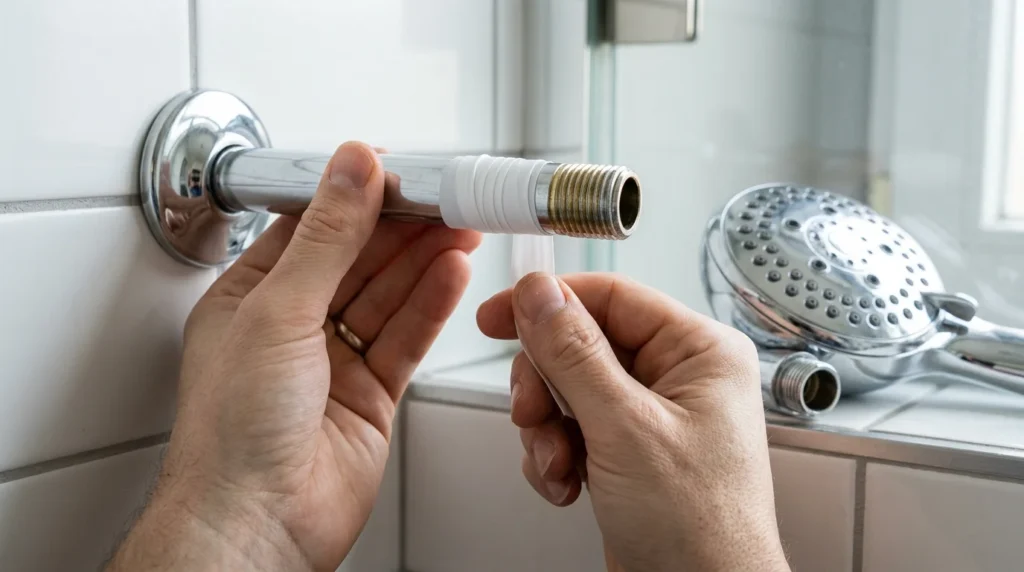
Shower arms are cut to one thread standard, and that single fact is why the aisle at Canadian Tire is safe to shop blind.
That standard is half-inch NPT, short for National Pipe Taper. Half-inch is a nominal name inherited from old pipe sizing, not a measured width. So the number never matches the object. Set a caliper across the male threads on the arm, and you get roughly 21 millimetres, about 8 mm wider than the name suggests.
Taper is the other half of the story. NPT threads narrow very slightly along their length, so the two parts wedge into each other as you turn. Sealing comes from that wedge, not from a gasket. It is also why the last quarter turn feels tight while the first three feel loose.
Two exceptions deserve a mention. Some imported European fixtures use BSP threads, which look nearly identical but run a different profile. A handful of mid-century homes still carry an arm cut with a fine vintage thread that modern heads will not catch. A brass adapter solves both, and it is the smallest item in the plumbing aisle.
How to replace a shower head, step by step
Read the sequence once before you start. After the old head is off, the rest runs without pausing.
- Close the shower valve fully and let the arm drain into the tub.
- Lay a folded cloth over the tub floor or shower base to catch anything you drop.
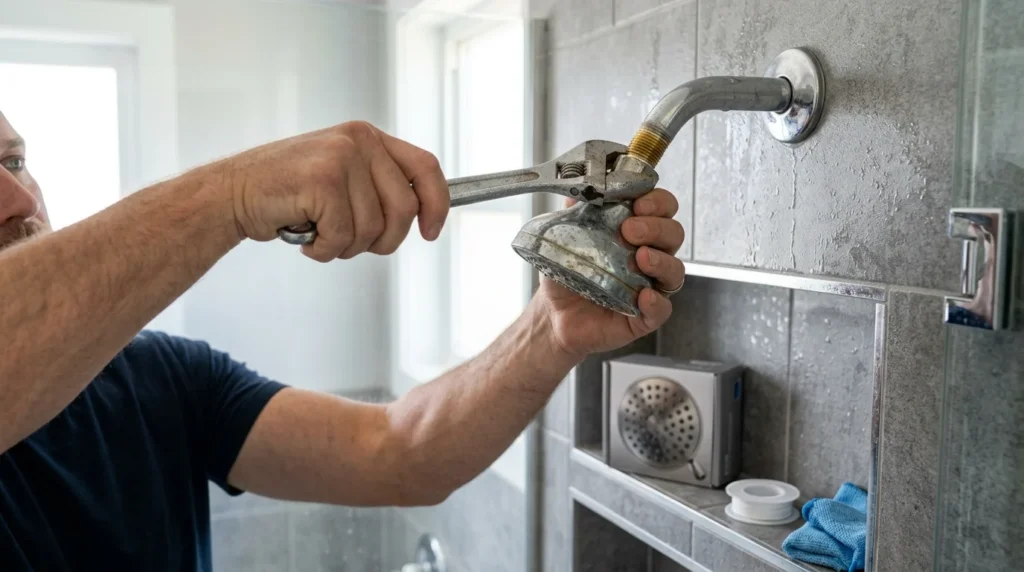
- Grip the old head by its collar, not its body, and turn it counter-clockwise.
- Wrap a rag around the arm and finish the turn with padded pliers if the head will not move by hand.
- Wipe the exposed threads on the arm, then work the old tape and scale out of the grooves with the toothbrush.
- Wrap thread seal tape two or three turns clockwise around the arm, viewed from the open end.
- Thread the new head on by hand until it stops, then add a quarter turn with the padded pliers.
- Run the shower for a full minute and watch the joint for beads of water.
If a bead forms, take the head back off rather than tightening harder. Over-torquing a tapered thread splits collars.
Thread seal tape: how many wraps and which way
This is where most leaks are born. Hold the arm so you are looking straight into its open end. Wrap the tape clockwise from that viewpoint, which is the same direction the head travels as it goes on. Wrap it the other way, and the head unwinds your work as it tightens, bunching the tape into a ridge that seals nothing.
Two turns suit a clean thread and three suit one that has been opened several times. Press the tape into the grooves with your thumbnail until you can still see the thread profile through it. More is not better. A fat wad of tape acts as a wedge and can crack a plastic collar on the first tightening.
Cold changes how the tape behaves, which nobody mentions. On a February morning, with the tile near 10 °C, PTFE becomes stiff and refuses to stretch into the grooves, so it tears rather than conforming. Warm the roll in your pocket for a few minutes, and it will lie flat.
Thread sealant paste is the alternative. It genuinely works better on a rough or slightly damaged thread, and it stays put where tape tends to slip. For an ordinary chrome arm in good condition, it is overkill, and it makes the next removal a sticky job.
When the arm fights back
Sometimes the head refuses to turn. Sometimes the whole arm turns instead. For a seized head, wrap the arm in a folded cloth, hold it still with one hand, and turn the head with padded pliers in the other hand.
Keeping the arm motionless is the entire point, because torque that reaches the elbow inside the wall is what turns a 15-minute job into drywall work. Green or orange crust at the joint means corrosion has taken hold. A patient soak, the same approach used to remove rust from metal fittings, frees it long before brute force does.
An arm that turns in the wall is telling you something. Either the drop-ear elbow behind the tile has come loose from its backing board, or the thread joining them has come loose. Stop there. Pulling the escutcheon plate and looking inside is a five-minute check, while carrying on regardless is how a small job becomes an open wall and a weekend.
Worst case, the arm snaps off inside the elbow and leaves a threaded stub in place. A stub extractor or a set of easy-outs bites the inside of the broken thread and backs it out counter-clockwise. Where the break sits flush with the elbow face, call a licensed plumber rather than drilling blind into a fitting you cannot see.
Flow rate, and what a low-flow head really delivers
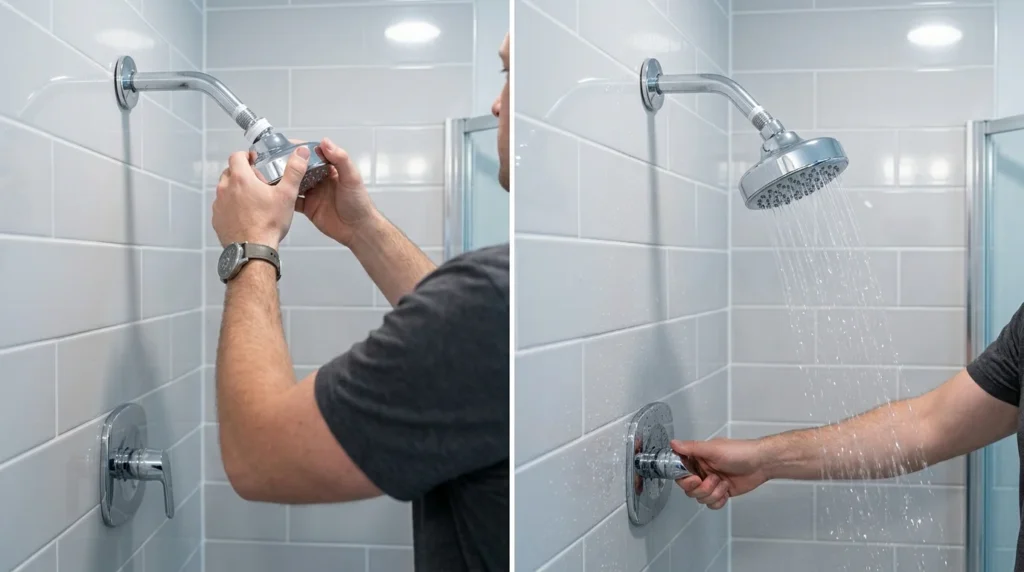
Canadian efficiency rules set a maximum of 6.8 litres per minute for new shower heads, measured at 552 kPa. Multi-nozzle models have to stay under that same figure with every nozzle running at once, which is why the enormous rain panels are rarer here than in American showrooms.
Plenty of people hear “low flow” and picture a dribble. Good ones shrink the openings and pull air into the stream, so the water leaves faster and lands harder, and the shower feels stronger rather than weaker. Trading an older 9.5 litres-per-minute head for one at the current limit takes a ten-minute shower from about 95 litres to 68 litres.
Pressure and flow are not the same thing, and confusing them sends people back to the store for no reason. A head starved by a half-closed valve or a scaled inlet screen feels weak at any rating.
Your next 15 minutes
Take the old head off before you buy anything. Look at the thread, look at how much scale is packed into the nozzles, and decide whether a bowl of vinegar solves it for you. If it does not, you already know the arm is standard, the tape goes clockwise, and the pliers wear a cloth.
Frequently asked questions
Yes. There is no soldering, no glue, and no shut-off valve to hunt for in a crawlspace, so learning how to replace a showerhead takes exactly one attempt. Call a licensed plumber only when the arm itself has broken off inside the wall.
Only the shower valve. Your house supply stays on. An arm holds nothing beyond the small amount left in it after the last rinse.
Close to it. Any head sold in Canada as a standard fitting threads onto a standard arm, since both are cut to the same half-inch NPT pattern. Handheld kits are identical at the arm end, with the hose taking over from there.
Three reasons account for nearly all of it. The tape went on the wrong way round, the threads were left gritty, or the rubber washer inside the inlet was missed. Take the head off, check all three, and rewrap.
Every six to eight years in hard water, and considerably longer where the water is soft. Cleaning it twice a year stretches that out. That same gentle, non-abrasive habit that keeps a stainless steel sink looking new works on a brushed-head finish, too.